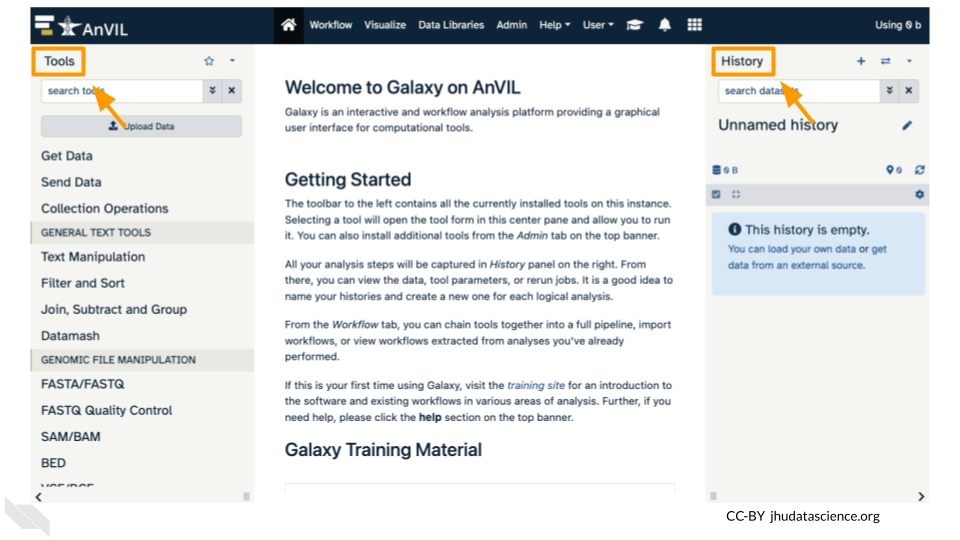
7.2 Galaxy: Step-by-step guide
This step-by-step guide provides written instructions and screenshots for getting started with Galaxy on AnVIL.
7.2.1 Starting Galaxy
Note that, in order to use Galaxy, you must have access to a Terra Workspace with permission to compute (i.e. you must be a “Writer” or “Owner” of the Workspace).
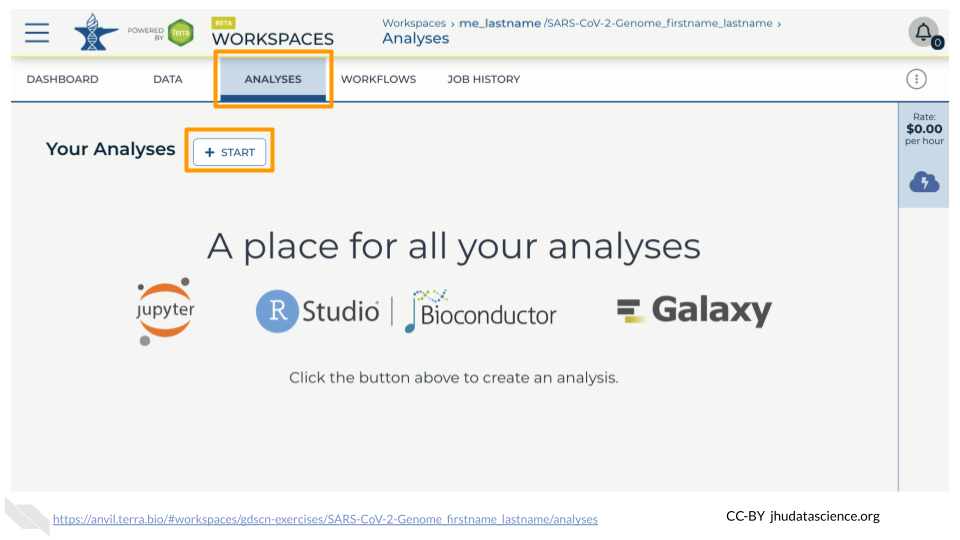
Open your Workspace, and click on the “NOTEBOOKS” tab. Next, click on “Create a Cloud Environment for Galaxy”. You should see a popup window on the right side of the screen. Click on “NEXT” and “CREATE” to keep all settings as-is. This will take 8-10 minutes. When it is done, click “LAUNCH GALAXY”.
7.2.3 Deleting Galaxy environment
Once you are done with your activity, you’ll need to shut down your Galaxy cloud environment. This frees up the cloud resources for others and minimizes computing cost. The following steps will delete your work, so make sure you are completely finished at this point. Otherwise, you will have to repeat your work from the previous steps.
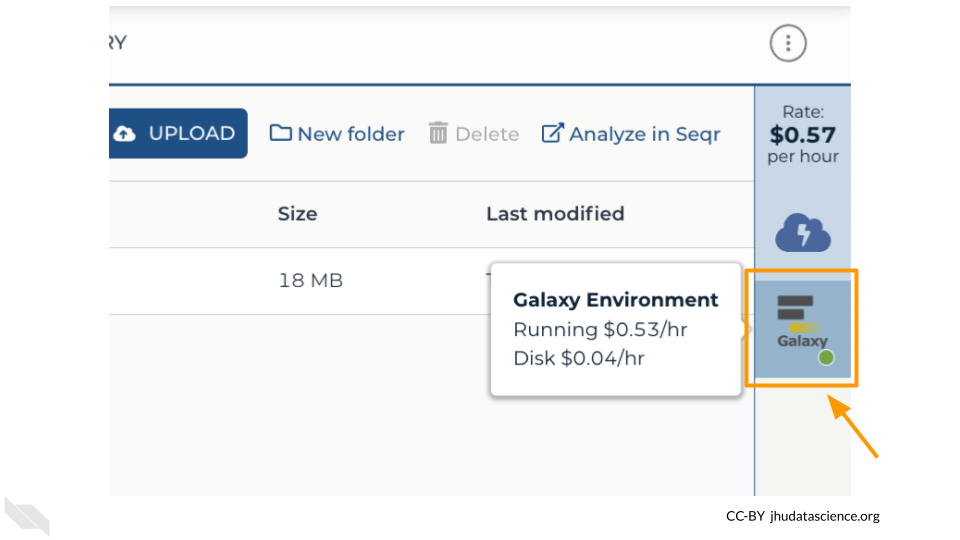
Return to AnVIL, and find the Galaxy logo that shows your cloud environment is running. Click on this logo:
Next, click on “DELETE ENVIRONMENT OPTIONS”:
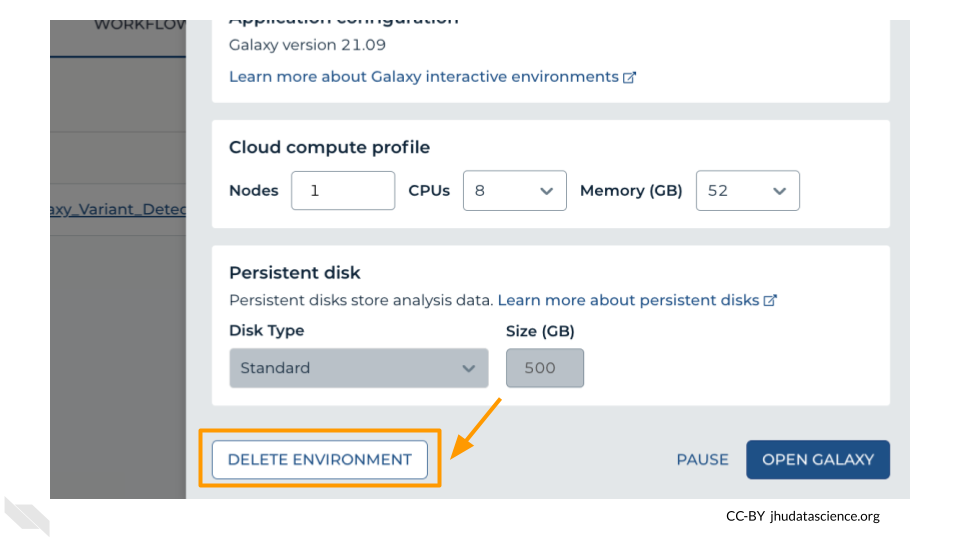
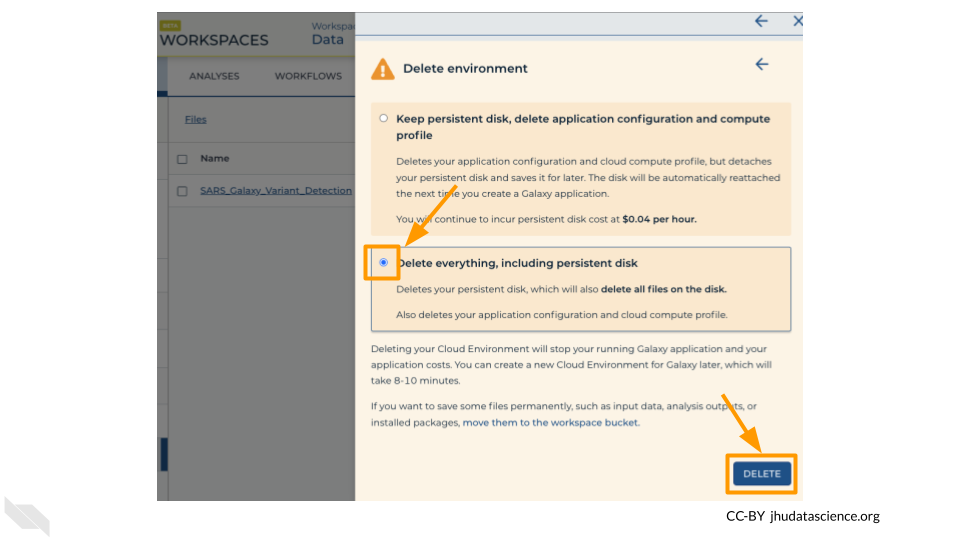
Finally, select “Delete everything, including persistent disk”. Make sure you are done with the activity and then click “DELETE”.
