5.1 Access Your Workspaces
If you are part of a research team, you may have been added to some existing Workspaces. To find and access your Workspaces, follow the steps below.
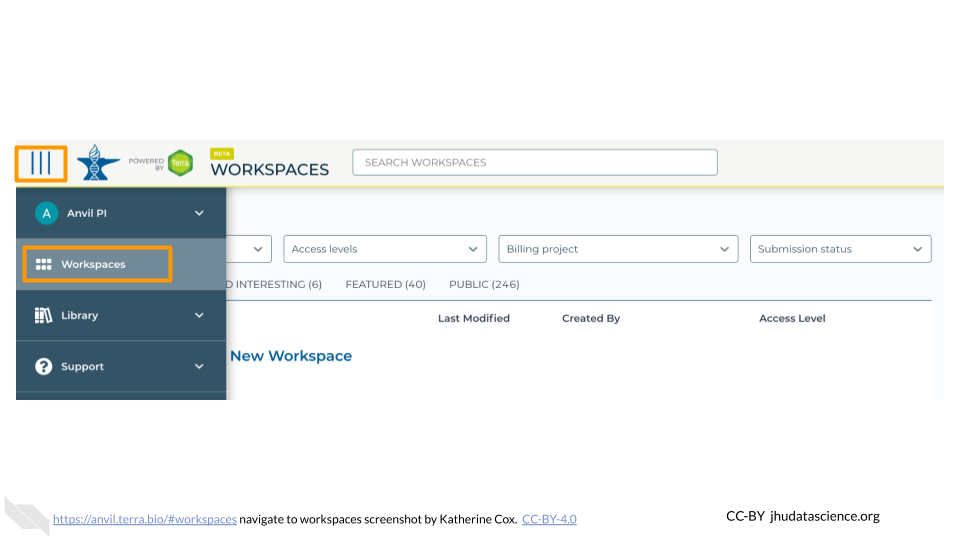
In the drop-down menu on the left, navigate to “Workspaces”. Click the triple bar in the top left corner to access the menu. Click “Workspaces”.

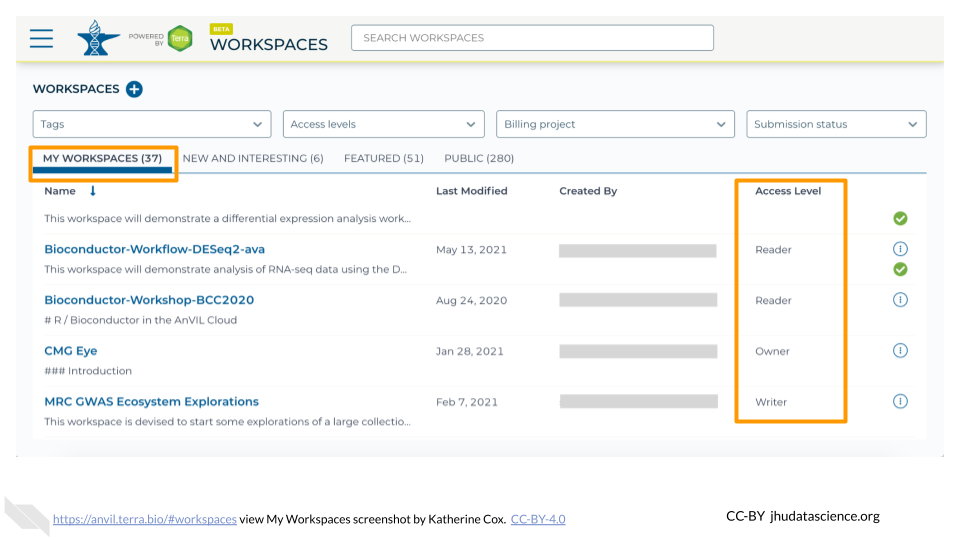
You are automatically directed to the “My Workspaces” tab. Here you can see any Workspaces that have been shared with you, along with your permission level.

- Reader means you can open the Workspace and see everything, but can’t do any computations or make any edits.
- Writer means you can run computations, which will charge costs to the Workspace’s Billing Project. Writers can also make edits to the Workspace.
- Owner is similar to Writer, but also allows you to control who can access the Workspace.
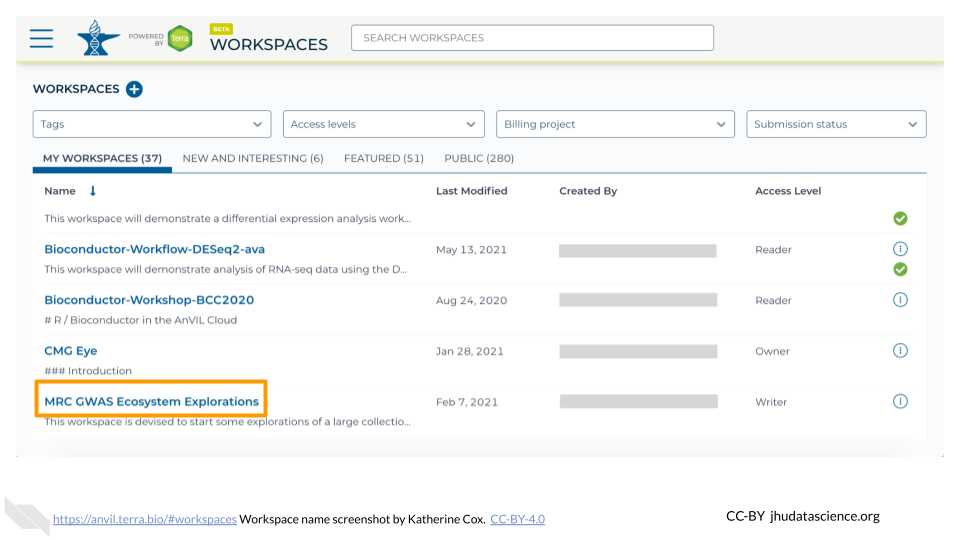
Click on the name of a Workspace to open it. Opening and viewing a Workspace does not cost anything.

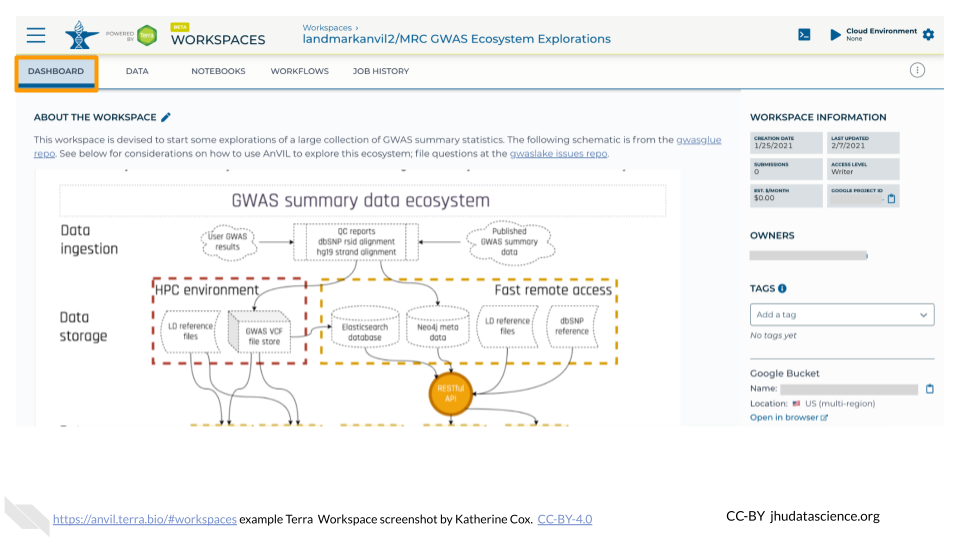
When you open a Workspace, you are directed to the Workspace Dashboard. This generally has a description of the Workspace contents, as well as some useful details about the Workspace itself.

From here you can navigate through the different tabs of the Workspace, and if you have sufficient permission, you can start running analyses. If you are only a Reader, you may need to “clone” (make your own copy) of the Workspace before you can start working.