
Chapter 14 Shutting Down
Once your students are done working, you will want to deactivate the Billing Project.
It is essential to disable the Billing Project, not just remove students from it!
Removing students from the Billing Project will prevent them from making new Workspaces, but will not stop them from computing in Workspaces that already exist. You will continue to accrue costs for any storage and cloud environments until you disable the Billing Project.
Disabling the Billing Project makes the Workspace contents inaccessible!
You will be unable to access any data stored in the Workspace or cloud environment. It is sometimes possible to restore access by reactivating billing, but Google makes no promises about whether the data will be recoverable.
Make sure you and your students have saved anything you want to keep in another location before disabling billing for your class.
Launch Terra and sign in with your Google account.
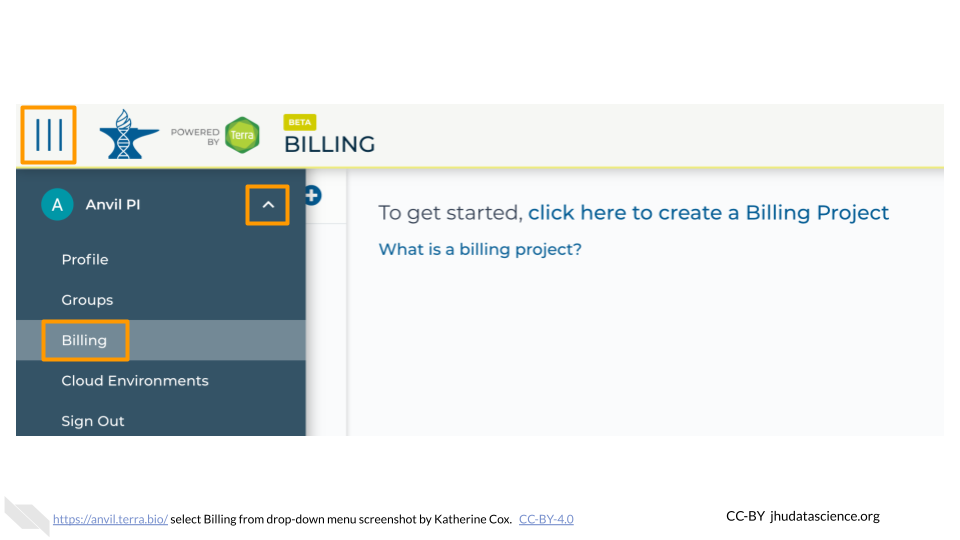
In the drop-down menu on the left, navigate to “Billing”. Click the triple bar in the top left corner to access the menu. Click the arrow next to your name to expand the menu, then click “Billing”. You can also navigate there directly with this link: https://anvil.terra.bio/#billing
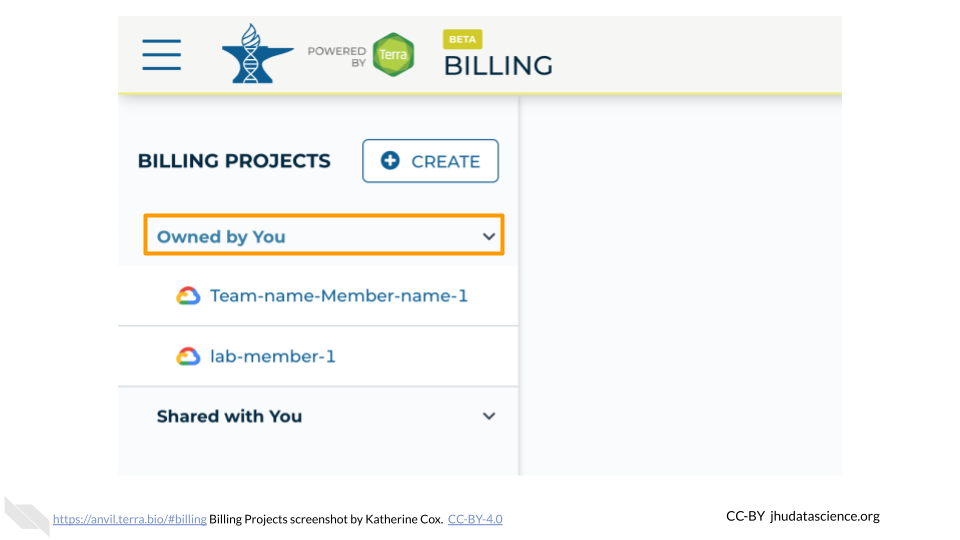
Click “Owned by You” and find the Billing Project. If you do not see the Billing Project in this list, then you are not an Owner and do not have permission to add members.
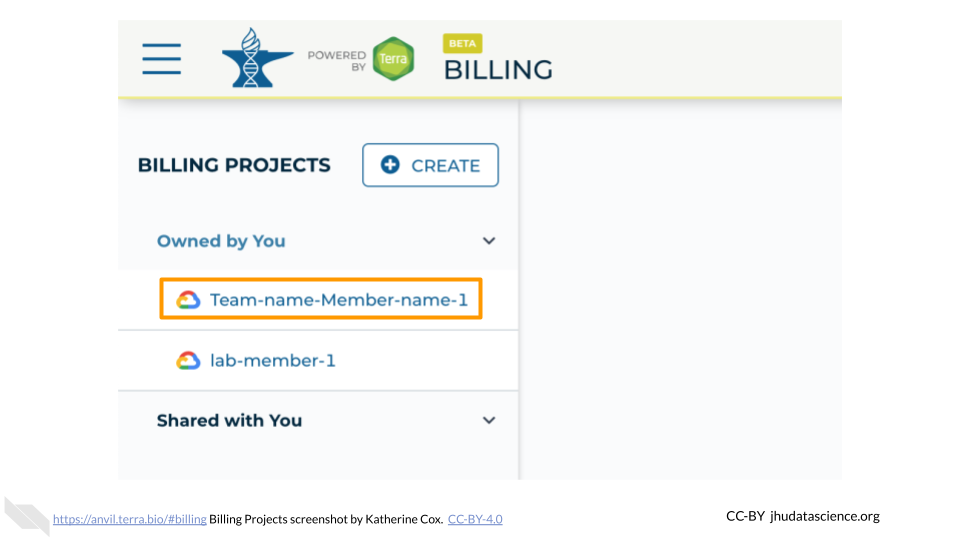
Click on the name of the Billing Project.
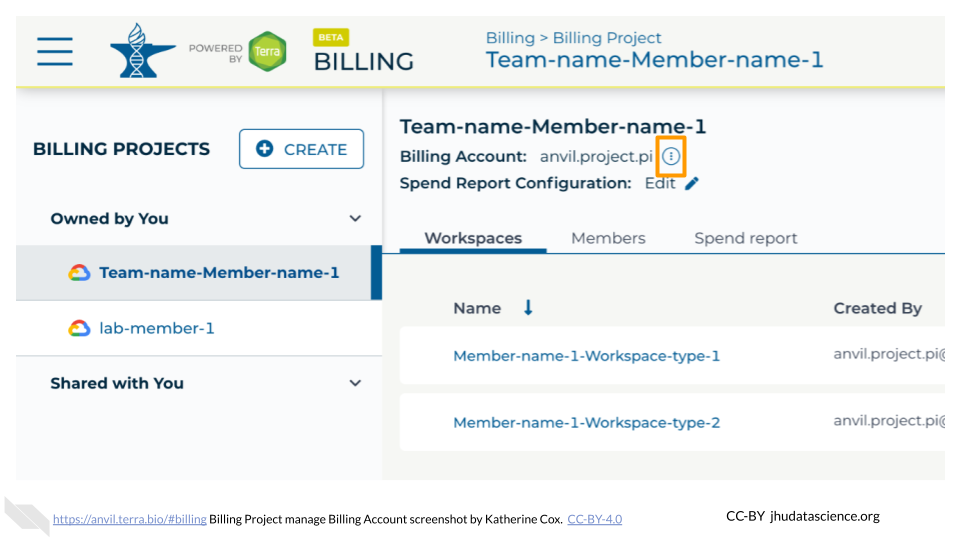
If you don’t see information about the Billing Account, click on “View billing account” to expand the Billing Account information. You may be prompted to enter your login information again.
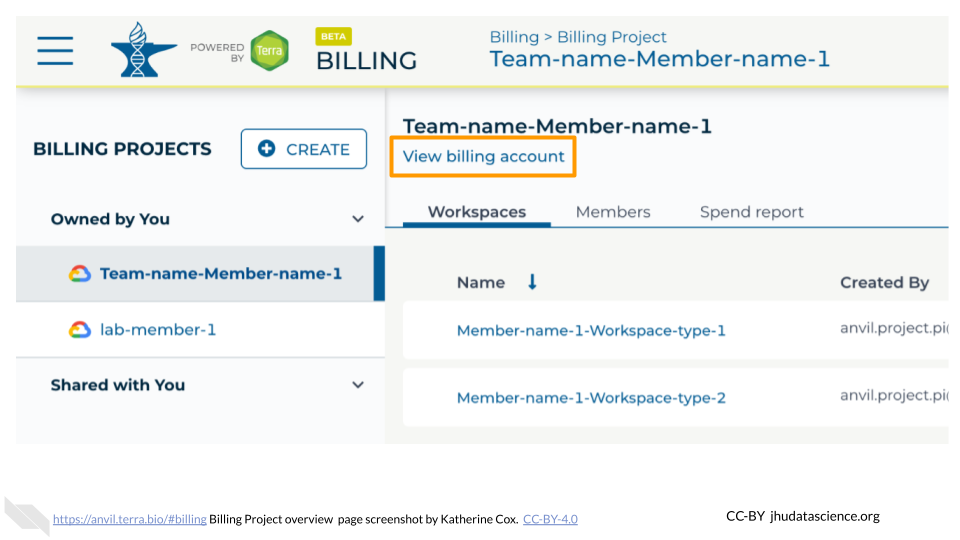
You should see the name of the Google Billing Account that is funding this Terra Billing Project. Click on the teardrop icon next to the name of the Billing Account.
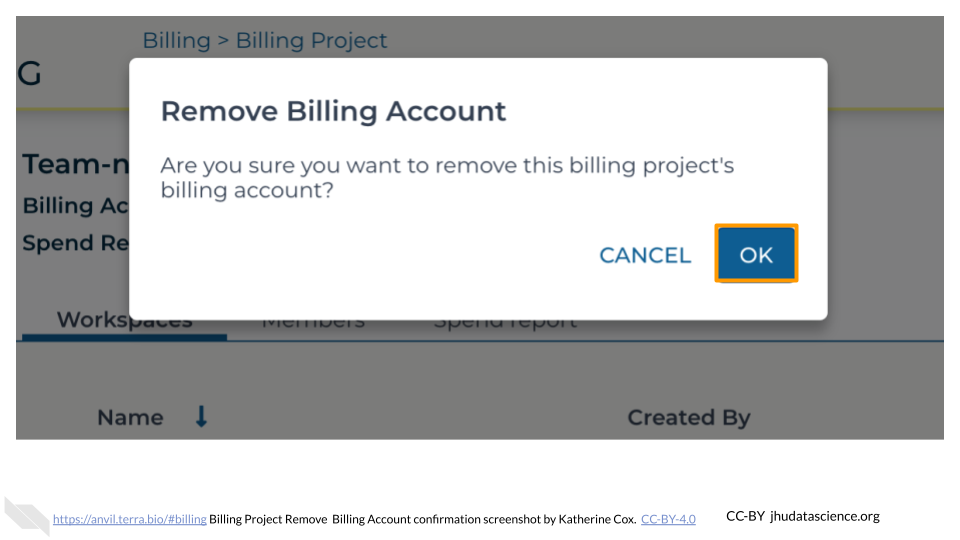
Click “Remove Billing Account”.

Click OK to confirm that you want to disable funding for this Billing Project.
The page should now indicate that there is no linked billing account.
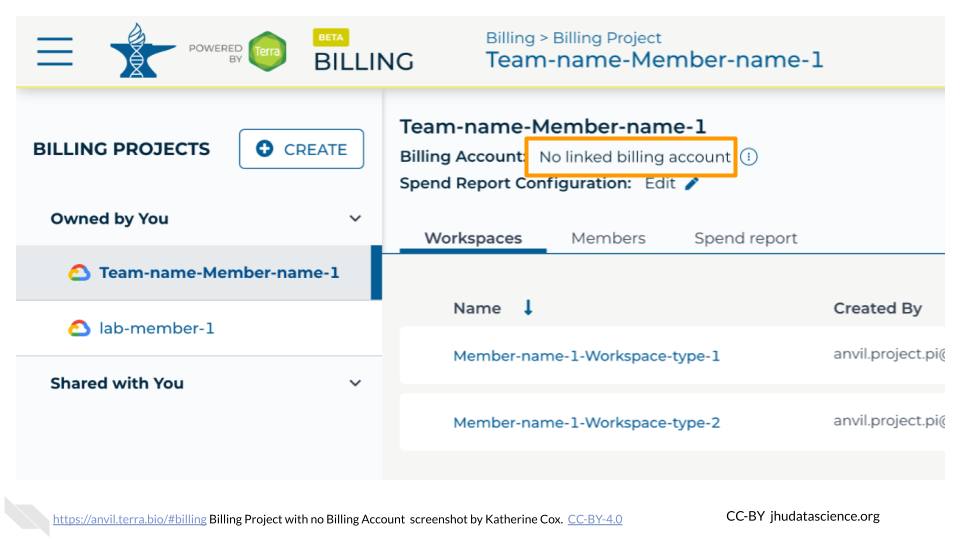
If necessary, you can restore funding to the Billing Project and associated Workspaces by clicking the teardrop icon and selecting “Change Billing Account”. However, Google makes no promises about how long the Workspace contents will remain available after you disable funding, so it is best not to rely on them.
