Chapter 5 Create Instructor Group
Groups enable you to share AnVIL resources and manage permissions for many people at once. If you have co-instructors or TAs who will be teaching with you, we recommend setting up an “instructor” Group where you can share materials under development and any other resources that are not meant to be shared with students. If you are teaching by yourself, you can proceed directly to Terra Billing Projects.
Depending on your needs, you may want to
- Create a single Group that persists across course offerings. This is convenient if the same people will be teaching the course multiple times; you will not have to re-share resources each time.
- Create a new Group for each offering of the course. This can be useful if you have different TAs for every offering and you don’t want them to access materials and funding for past and future offerings.
You can always add/remove Groups and Group members later, so we recommend starting out with a single instructor group. You can decide later if you want to create a new Group for the next course.
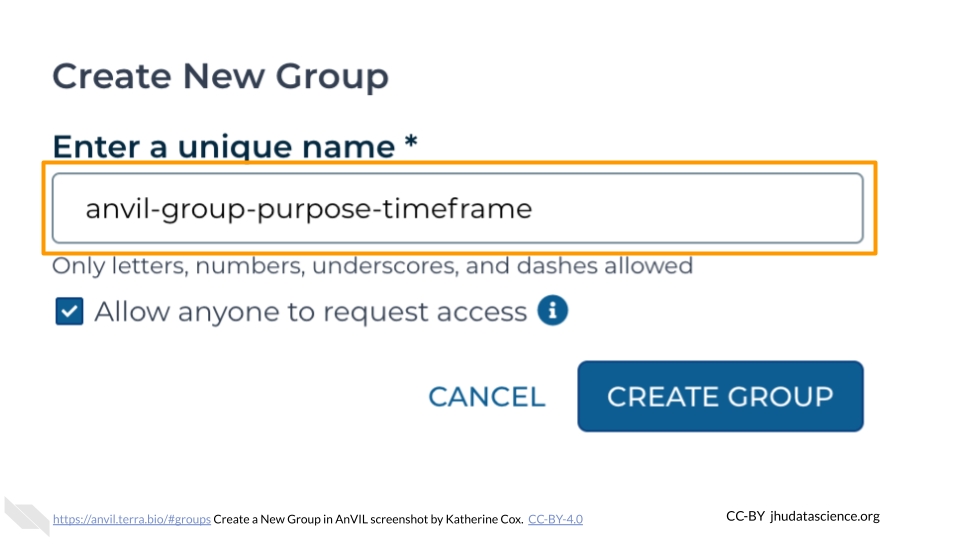
Choose an informative, unique Group name. We suggest a combination of institution-class-role (e.g., jhu-bio101-instructors). Only letters, numbers, underscores, and dashes are allowed in Group names.
5.1 Create Terra Group
To create a Group:
Launch Terra and sign in with your Google account.
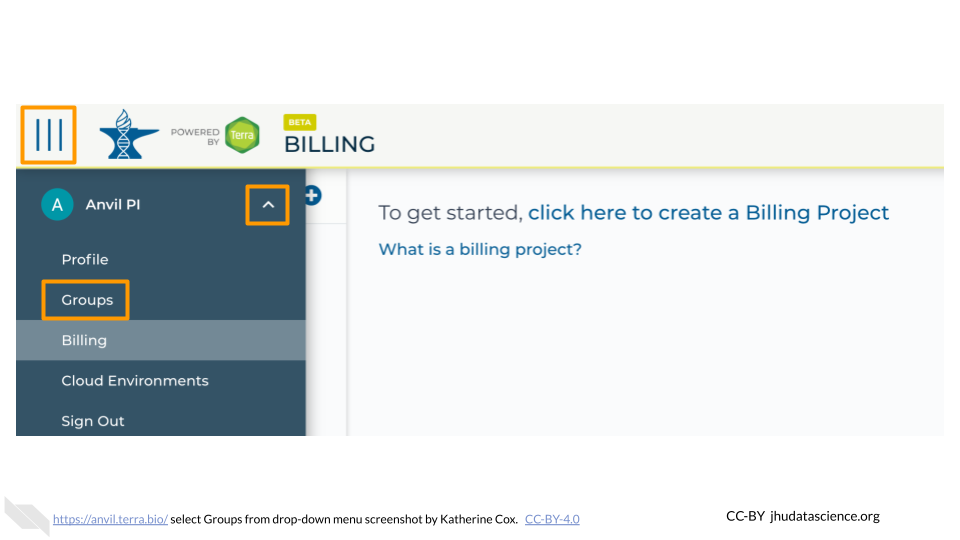
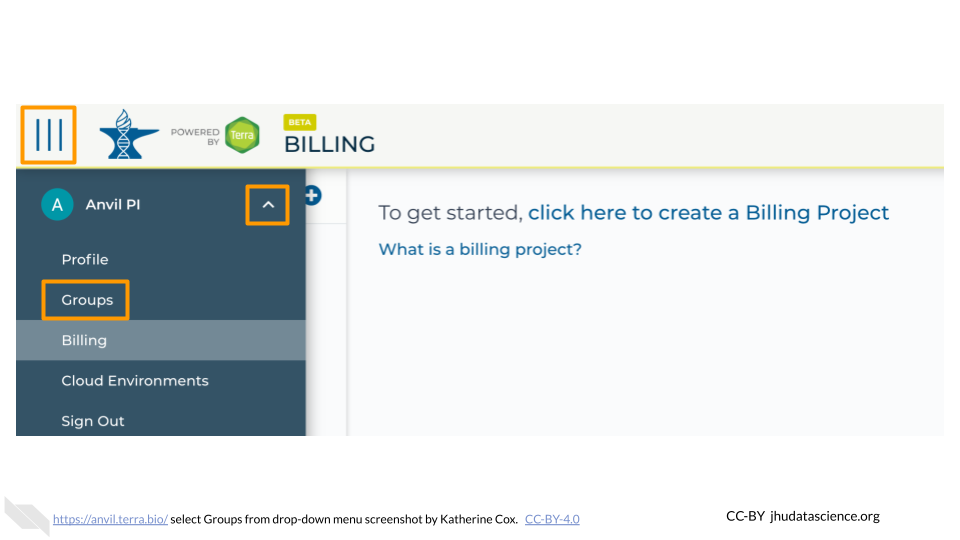
In the drop-down menu on the left, navigate to “Groups”. Click the triple bar in the top left corner to access the menu. Click the arrow next to your name to expand the menu, then click “Groups”. You can also navigate there directly with this link: https://anvil.terra.bio/#groups
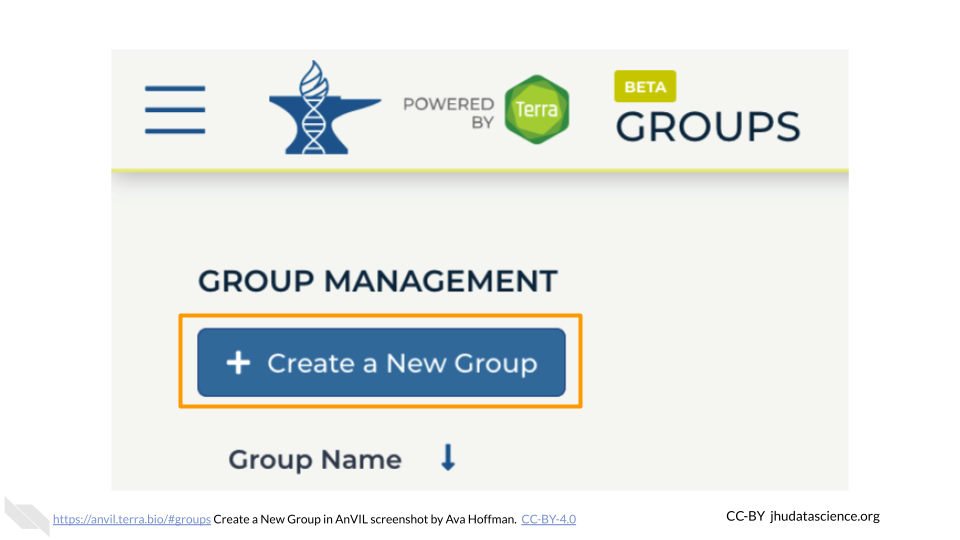
Click “+ Create a New Group”
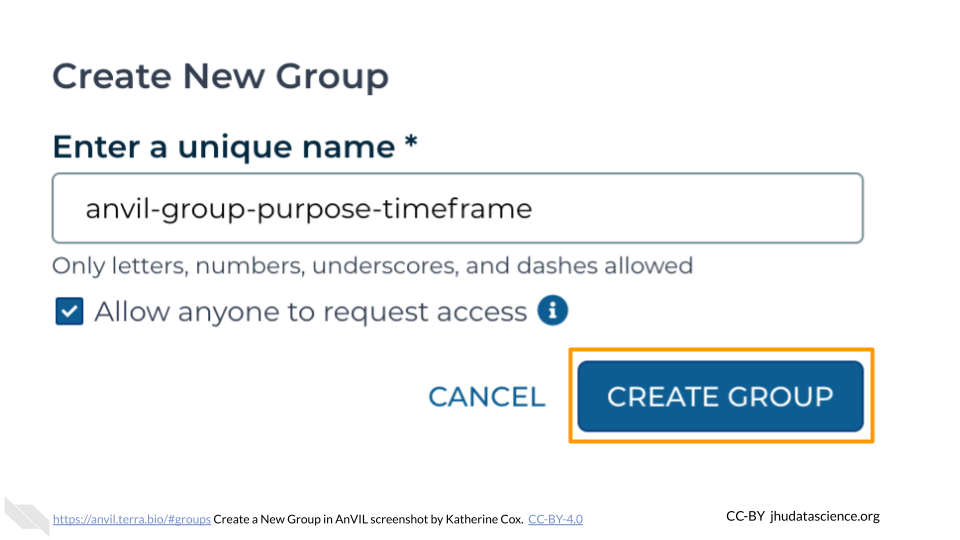
Enter a name for your group. Names must be unique, so it’s often helpful to include your team’s name, the purpose of the group, and optionally the timeframe, if you will have similar groups in the future.
Click “CREATE GROUP”
Your new Group should now show up on the Group Management screen. Take note of the email address associated with your group. You will use this email to grant the group access to Billing Projects and Workspaces.
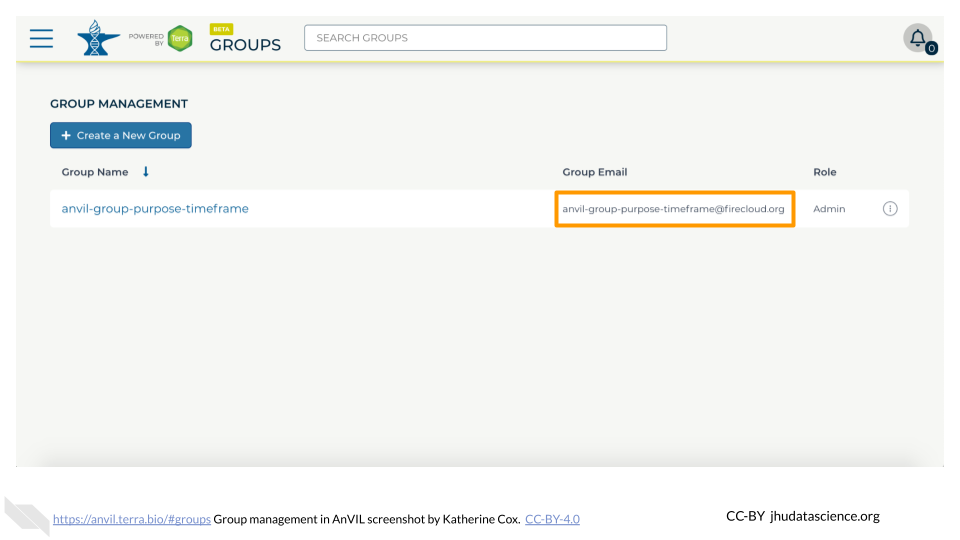
You now have a unique instructor Group.
5.2 Add Instructors and TAs to Group
Now that your instructor Group has been created, you should add any additional instructors and TAs. You should also ensure that they have the correct permissions.
Users can be added to a Group as either Admins or Members. Admins can add and remove members from the group.
Group roles only affect whether or not someone can add and remove members from the Group. They do not grant special privileges with respect to Terra resources (Billing Projects and Workspaces).
However, an Admin for the Group can indirectly grant access to Terra resources. By adding someone to the Group, they grant that person access to any Terra resources that the Group has been given permission to access.
Often it’s appropriate to add any co-instructors as Admins, with TAs as Members.
To add someone to your group:
Launch Terra and sign in with your Google account.
In the drop-down menu on the left, navigate to “Groups”. Click the triple bar in the top left corner to access the menu. Click the arrow next to your name to expand the menu, then click “Groups”. You can also navigate there directly with this link: https://anvil.terra.bio/#groups
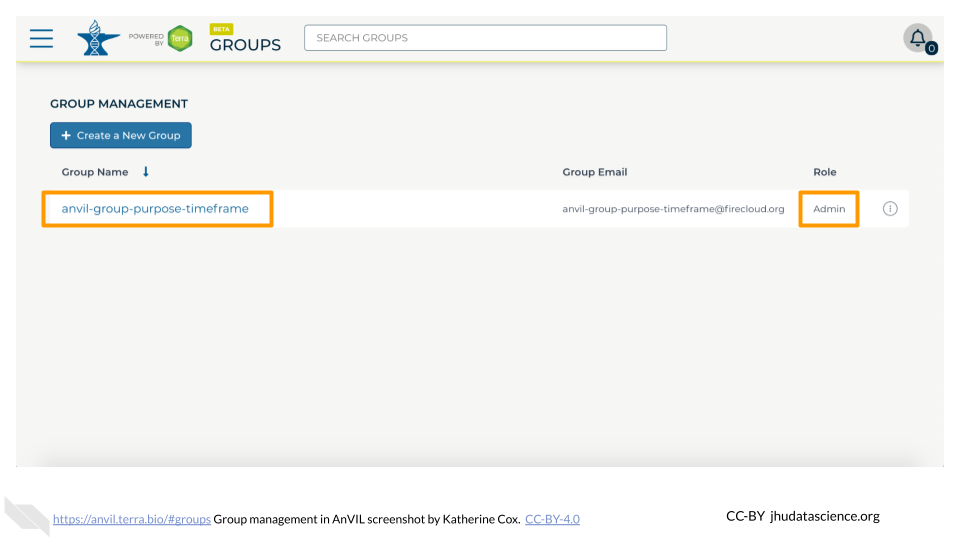
Find the name of the Group you want to add someone to, and confirm that you have Admin privileges for the Group (you can only add and remove members to a Group if you are an Admin). Click on the name of the Group to view and manage members.
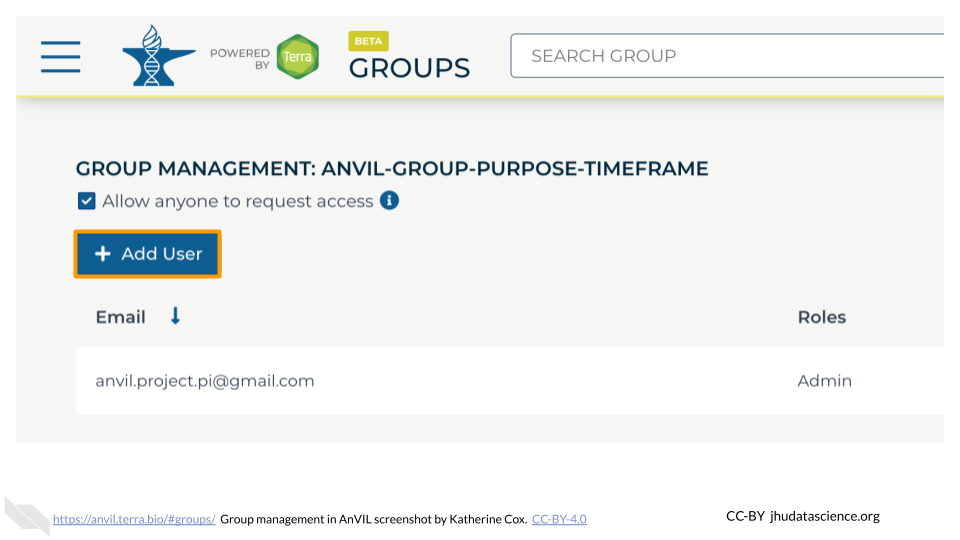
Click on “+ Add User”. You will be prompted to enter the user’s AnVIL ID.
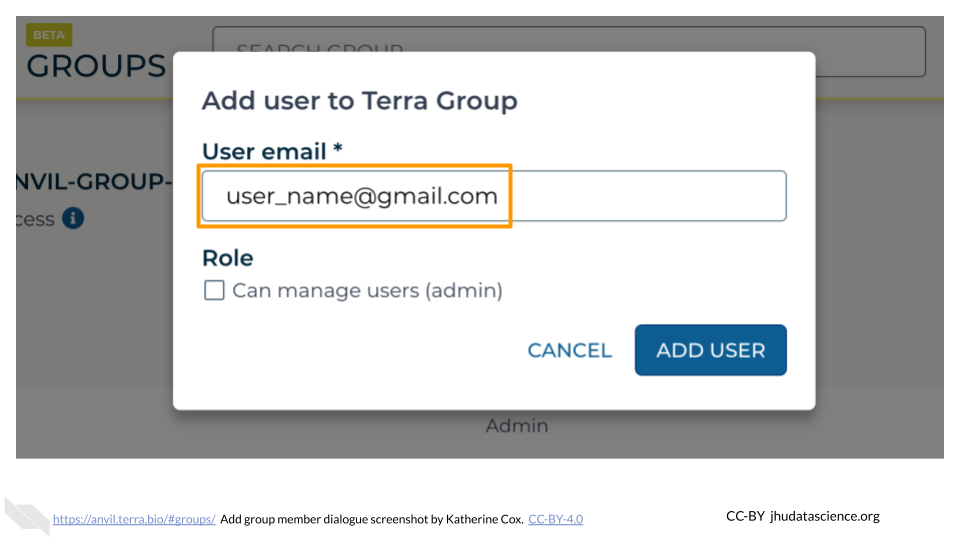
Type in the user’s email address. Make sure this is the account that they will be using to access AnVIL.
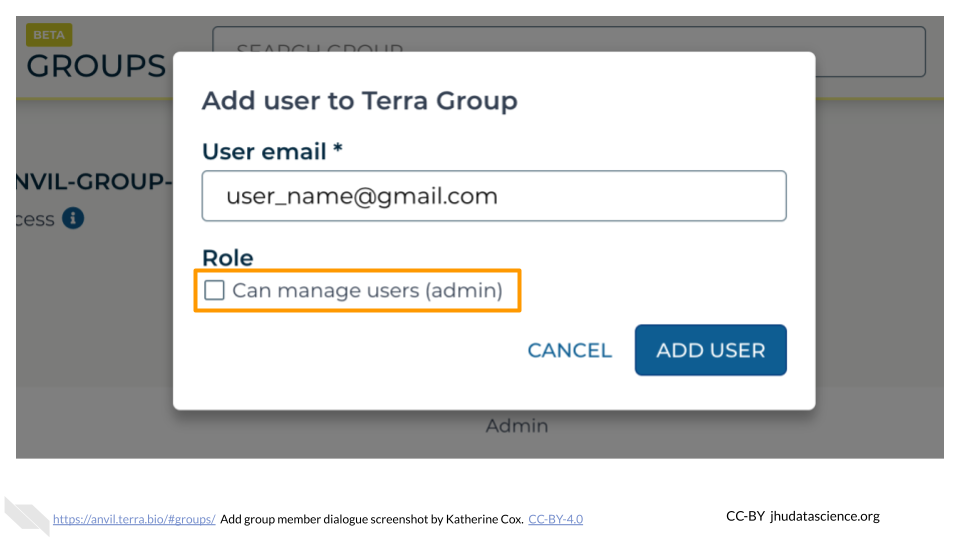
If this member will need to add and remove other members of the Group, check the box for “Can manage members (admin)”. This will add them as an “Admin” for the Group. Otherwise leave it unchecked, and they will be added as a “Member”.
- Admins and Members have equal access to any resources shared with the Group.
- Admins can manage Group membership - they can add, remove, or change the role of other Group members.
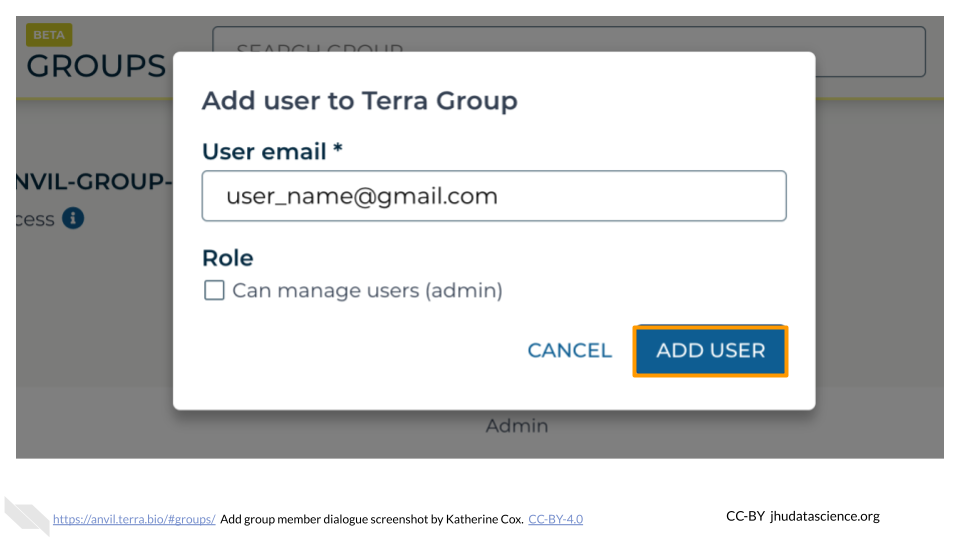
Click ADD USER. This will take you back to the Group administration page.
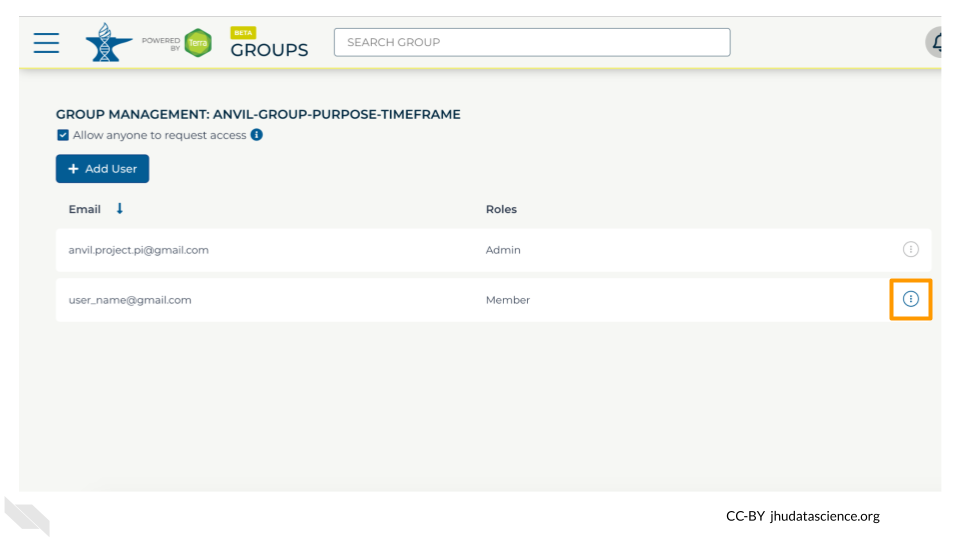
The new Group member will now be shown in the list of group members, along with their role. They should now have access to anything that the Group has been given access to.
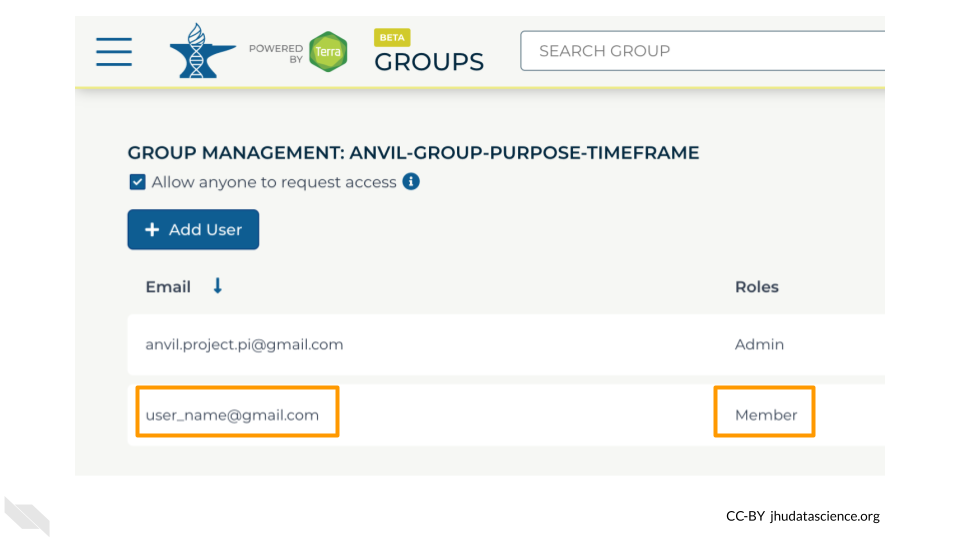
If you need to remove members or modify their roles, you can do so at any time by clicking the teardrop button next to their name.
