
Chapter 8 Documenting analyses
8.2 Why documentation?
Documentation is an important but sometimes overlooked part of creating a reproducible analysis! There are two parts of documentation we will discuss here: 1) In notebook descriptions and 2) READMEs
Both these notebook descriptions and READMEs are written in markdown – a lightweight markup language for formatting text that can be converted to html for display in web browsers. If you aren’t familiar, markdown is such a handy tool and we encourage you to learn it (it doesn’t take too long), here’s a quick guide to get you started.
8.2.1 Notebook descriptions
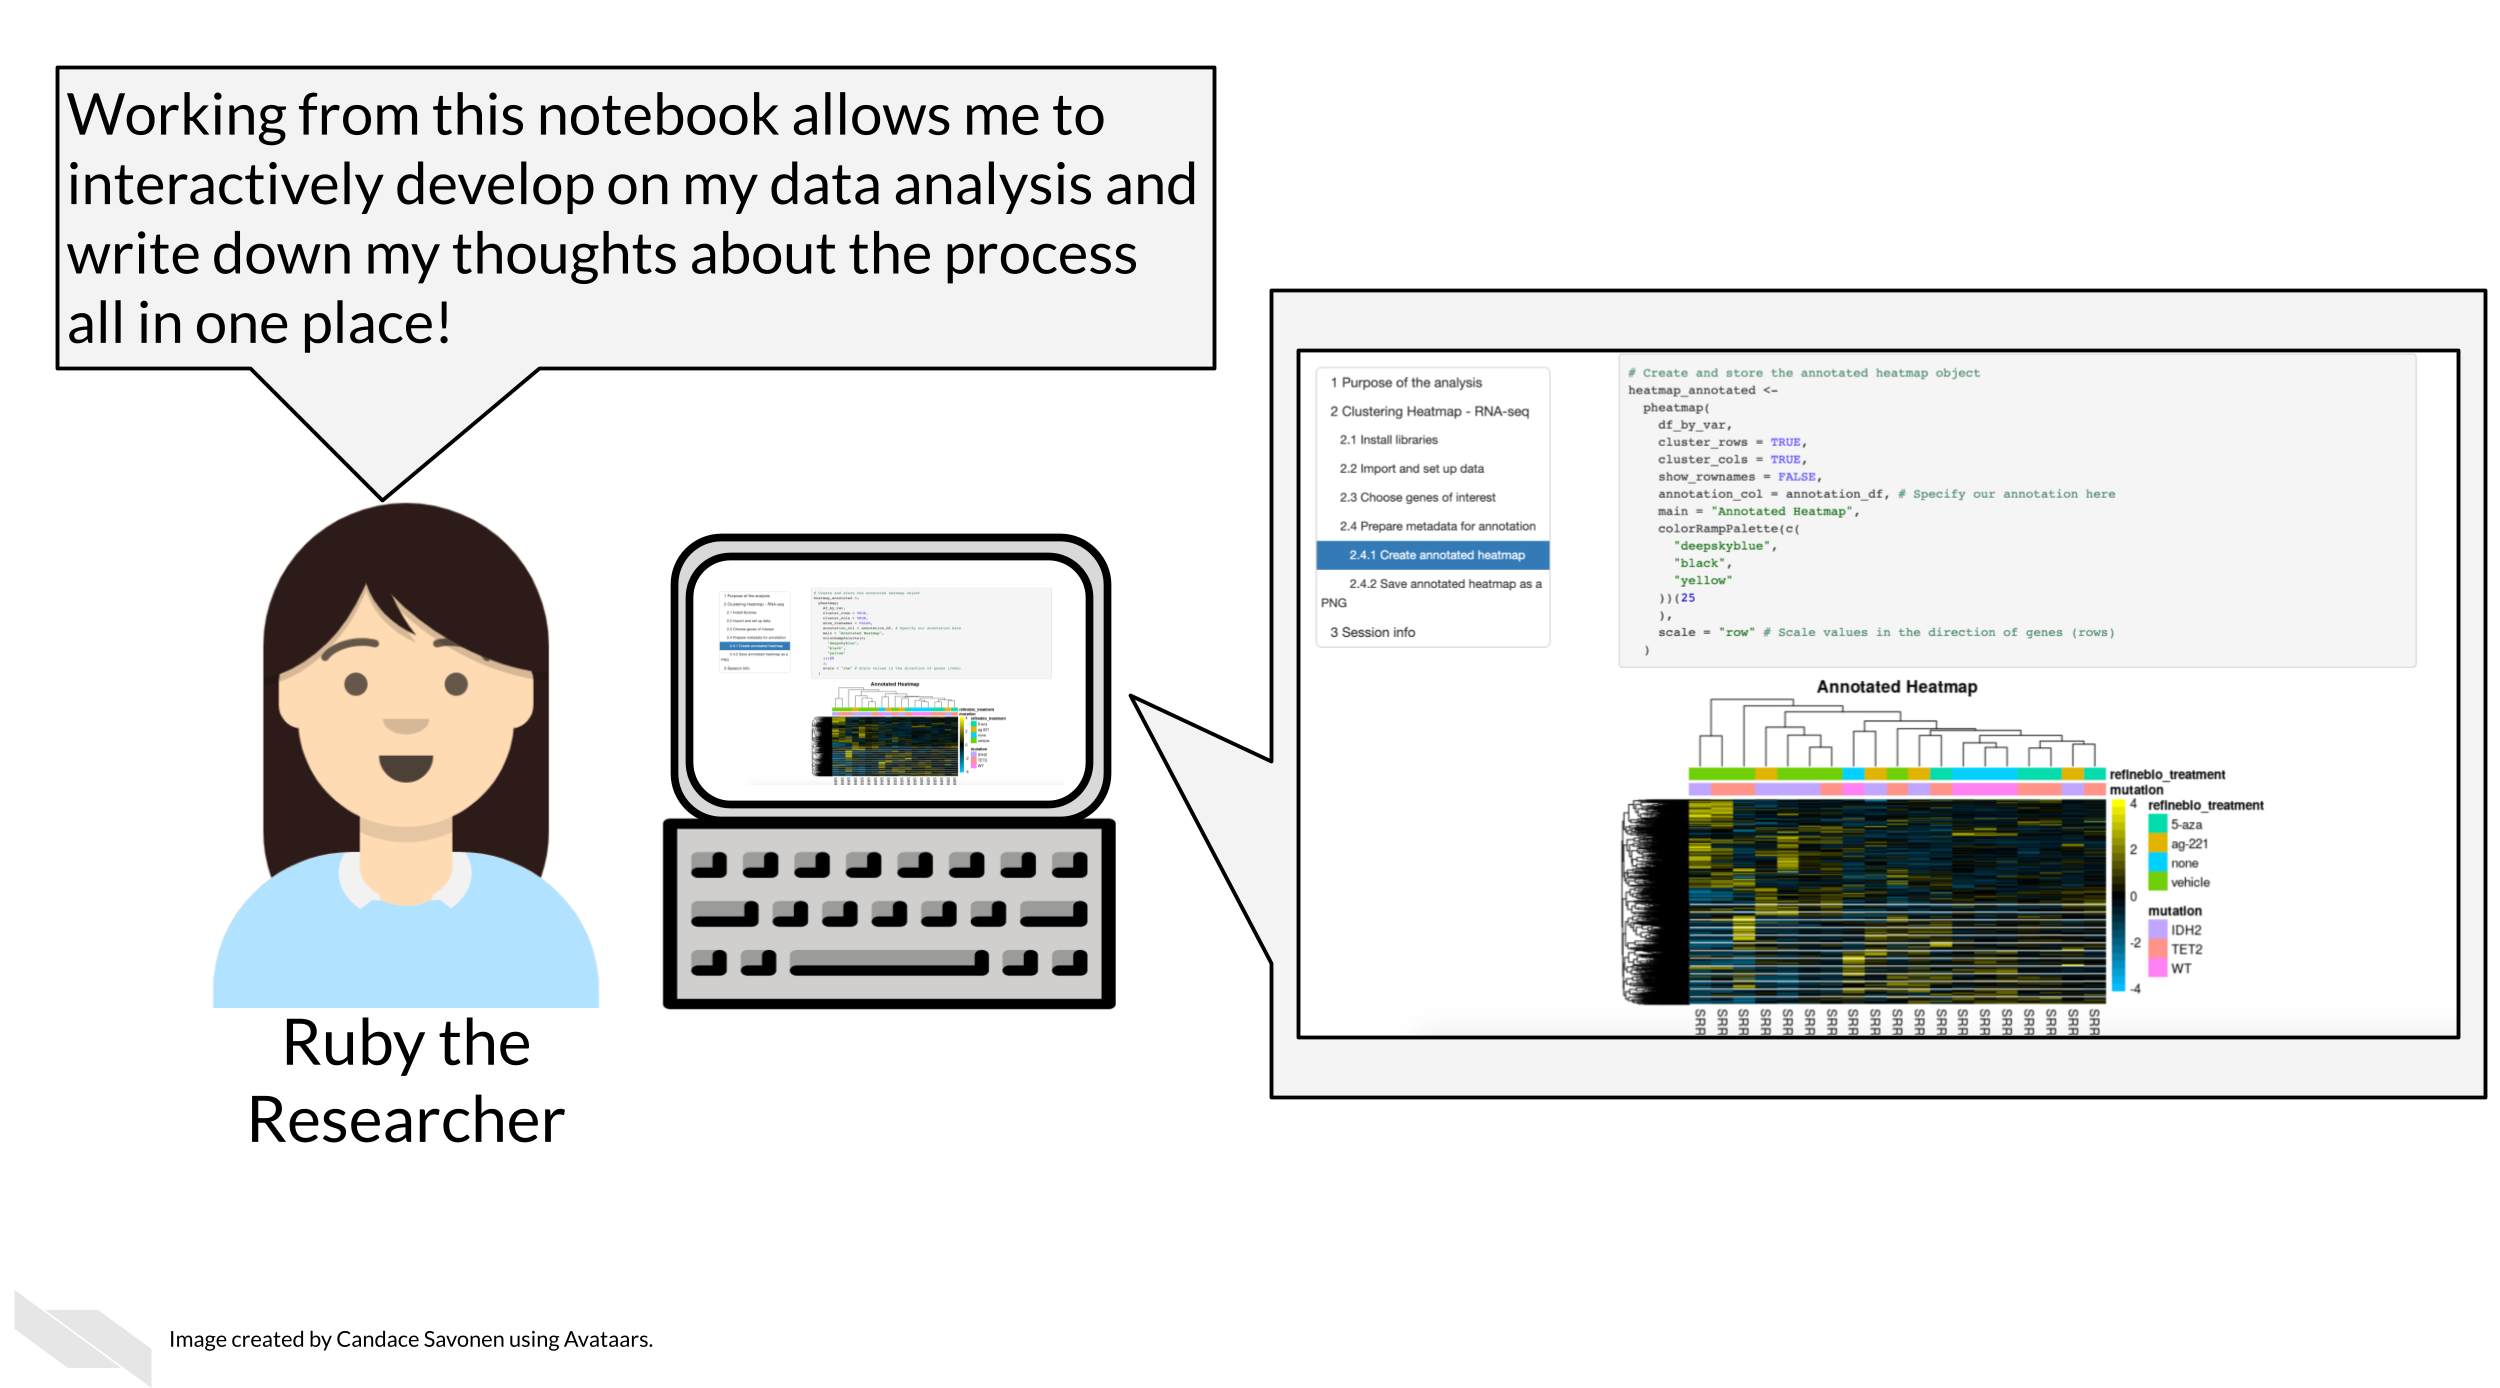
As we discussed in chapter 5, data analyses can lead one on a winding trail of decisions, but notebooks allow you to narrate your thought process as you travel along these analysis explorations!
Your scientific notebook should include descriptions that describe:
8.2.1.1 The purposes of the notebook
What scientific question are you trying to answer? Describe the dataset you are using to try to answer this and why does it help answer this question?
8.2.1.2 The rationales behind your decisions
Describe why a particular code chunk is doing a particular thing – the more odd the code looks, the greater need for you to describe why you are doing it.
Describe any particular filters or cutoffs you are using and how you decided on those?
For data wrangling steps, why are you wrangling the data in such a way – is this because a certain package you are using requires it?
8.2.2 READMEs!
READMEs are also a great way to help your collaborators get quickly acquainted with the project.
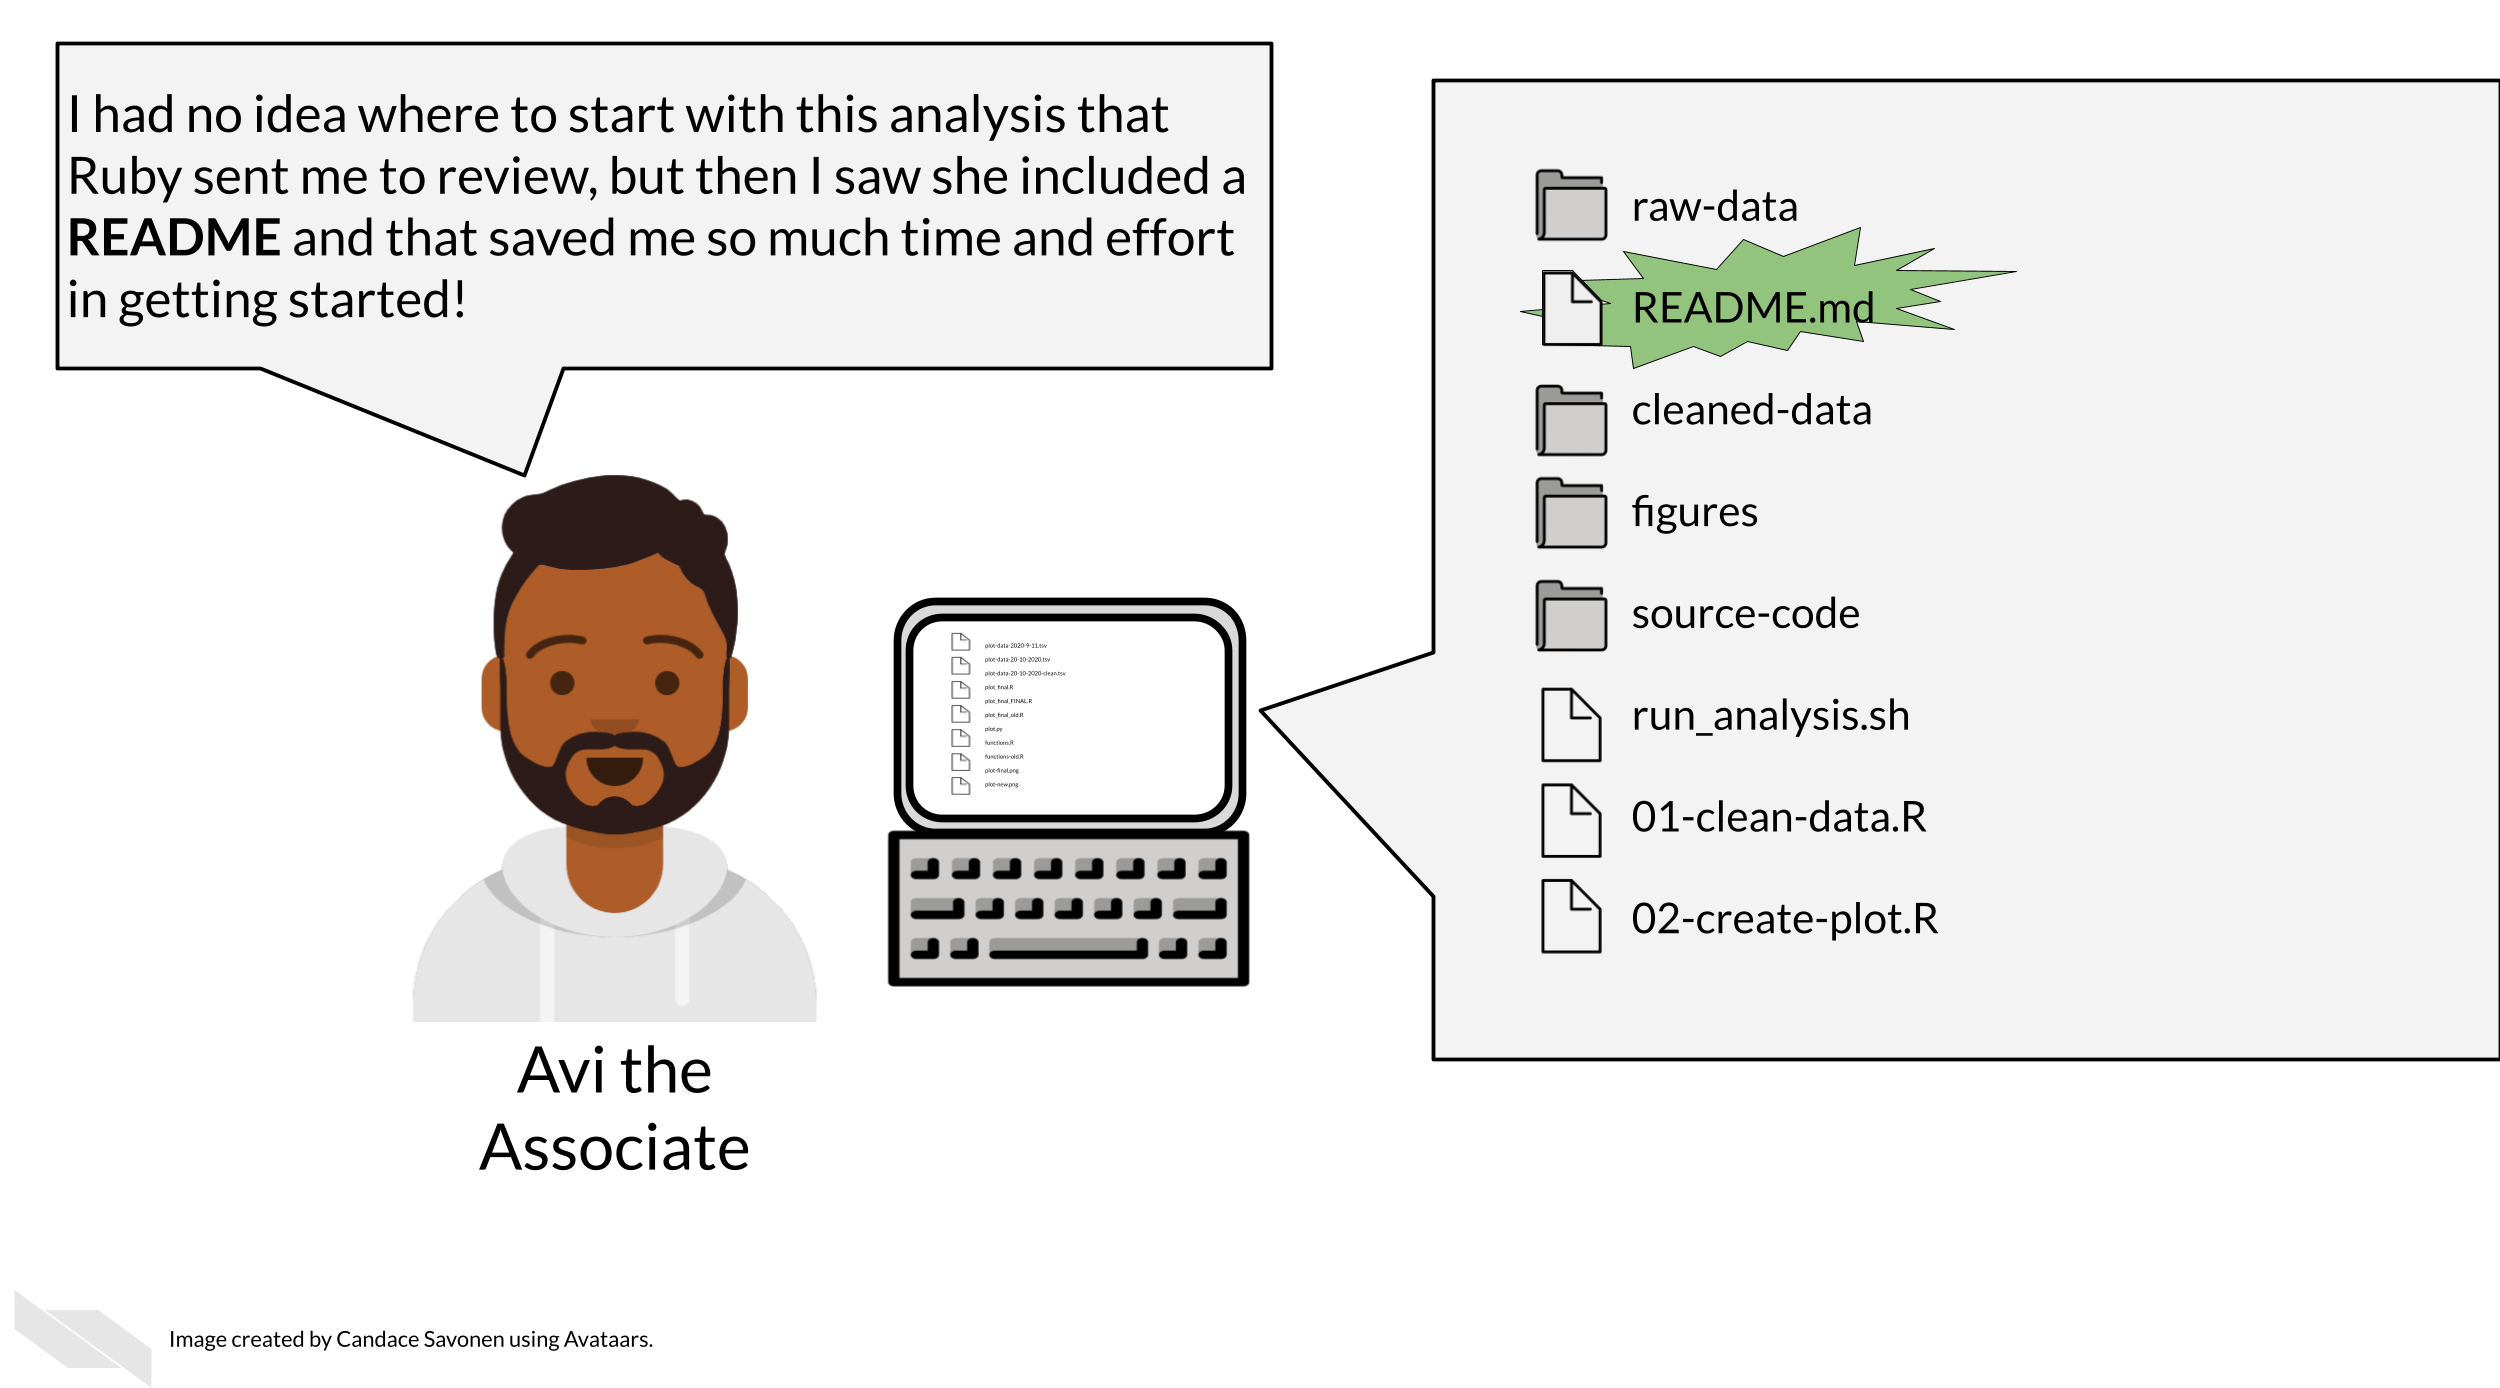
READMEs stick out in a project and are generally universal signal for new people to the project to start by READing them. GitHub automatically will preview your file called “README.md” when someone comes to the main page of your repository, which further encourages people looking at your project to read the information in your README.
Information that should be included in a README:
- General purpose of the project
- Instructions on how to re-run the project
- Lists of any software required by the project
- Input and output file descriptions
- Descriptions of any additional tools included in the project
You can take a look at this template README to get started.
8.3 Licensing
Adding information about a license is a good idea. If you put your code on GitHub, then the default copyright laws apply. According to GitHub:
“You retain all rights to your source code and no one may reproduce, distribute, or create derivative works from your work. If you’re creating an open source project, we strongly encourage you to include an open source license.”
Open source software or code means that it is distributed with a license that allows others to reuse or adapt your code for other purposes. This is very helpful to advance science and technology.
Check out this great resource on options for licenses to help you choose which license is right for your project.
8.4 Get the exercise project files
Get the Python project example files
Now double click your chapter zip file to unzip. For Windows you may have to follow these instructions.
Get the R project example files
Now double click your chapter zip file to unzip. For Windows you may have to follow these instructions.
8.5 Exercise 1: Practice beefing up your notebook descriptions
Python project exercise
- Start up JuptyerLab with running
juptyer labfrom your command line. - Activate your conda environment using
conda activate reproducible-python. - Open up your notebook you’ve been working on in the previous chapters:
make_heatmap.ipynb - Create a new chunk in your notebook and choose the “Markdown” option in the dropdown menu.
ottrpal::include_slide("https://docs.google.com/presentation/d/1LMurysUhCjZb7DVF6KS9QmJ5NBjwWVjRn40MS9f2noE/edit#slide=id.gfaa026a583_0_30")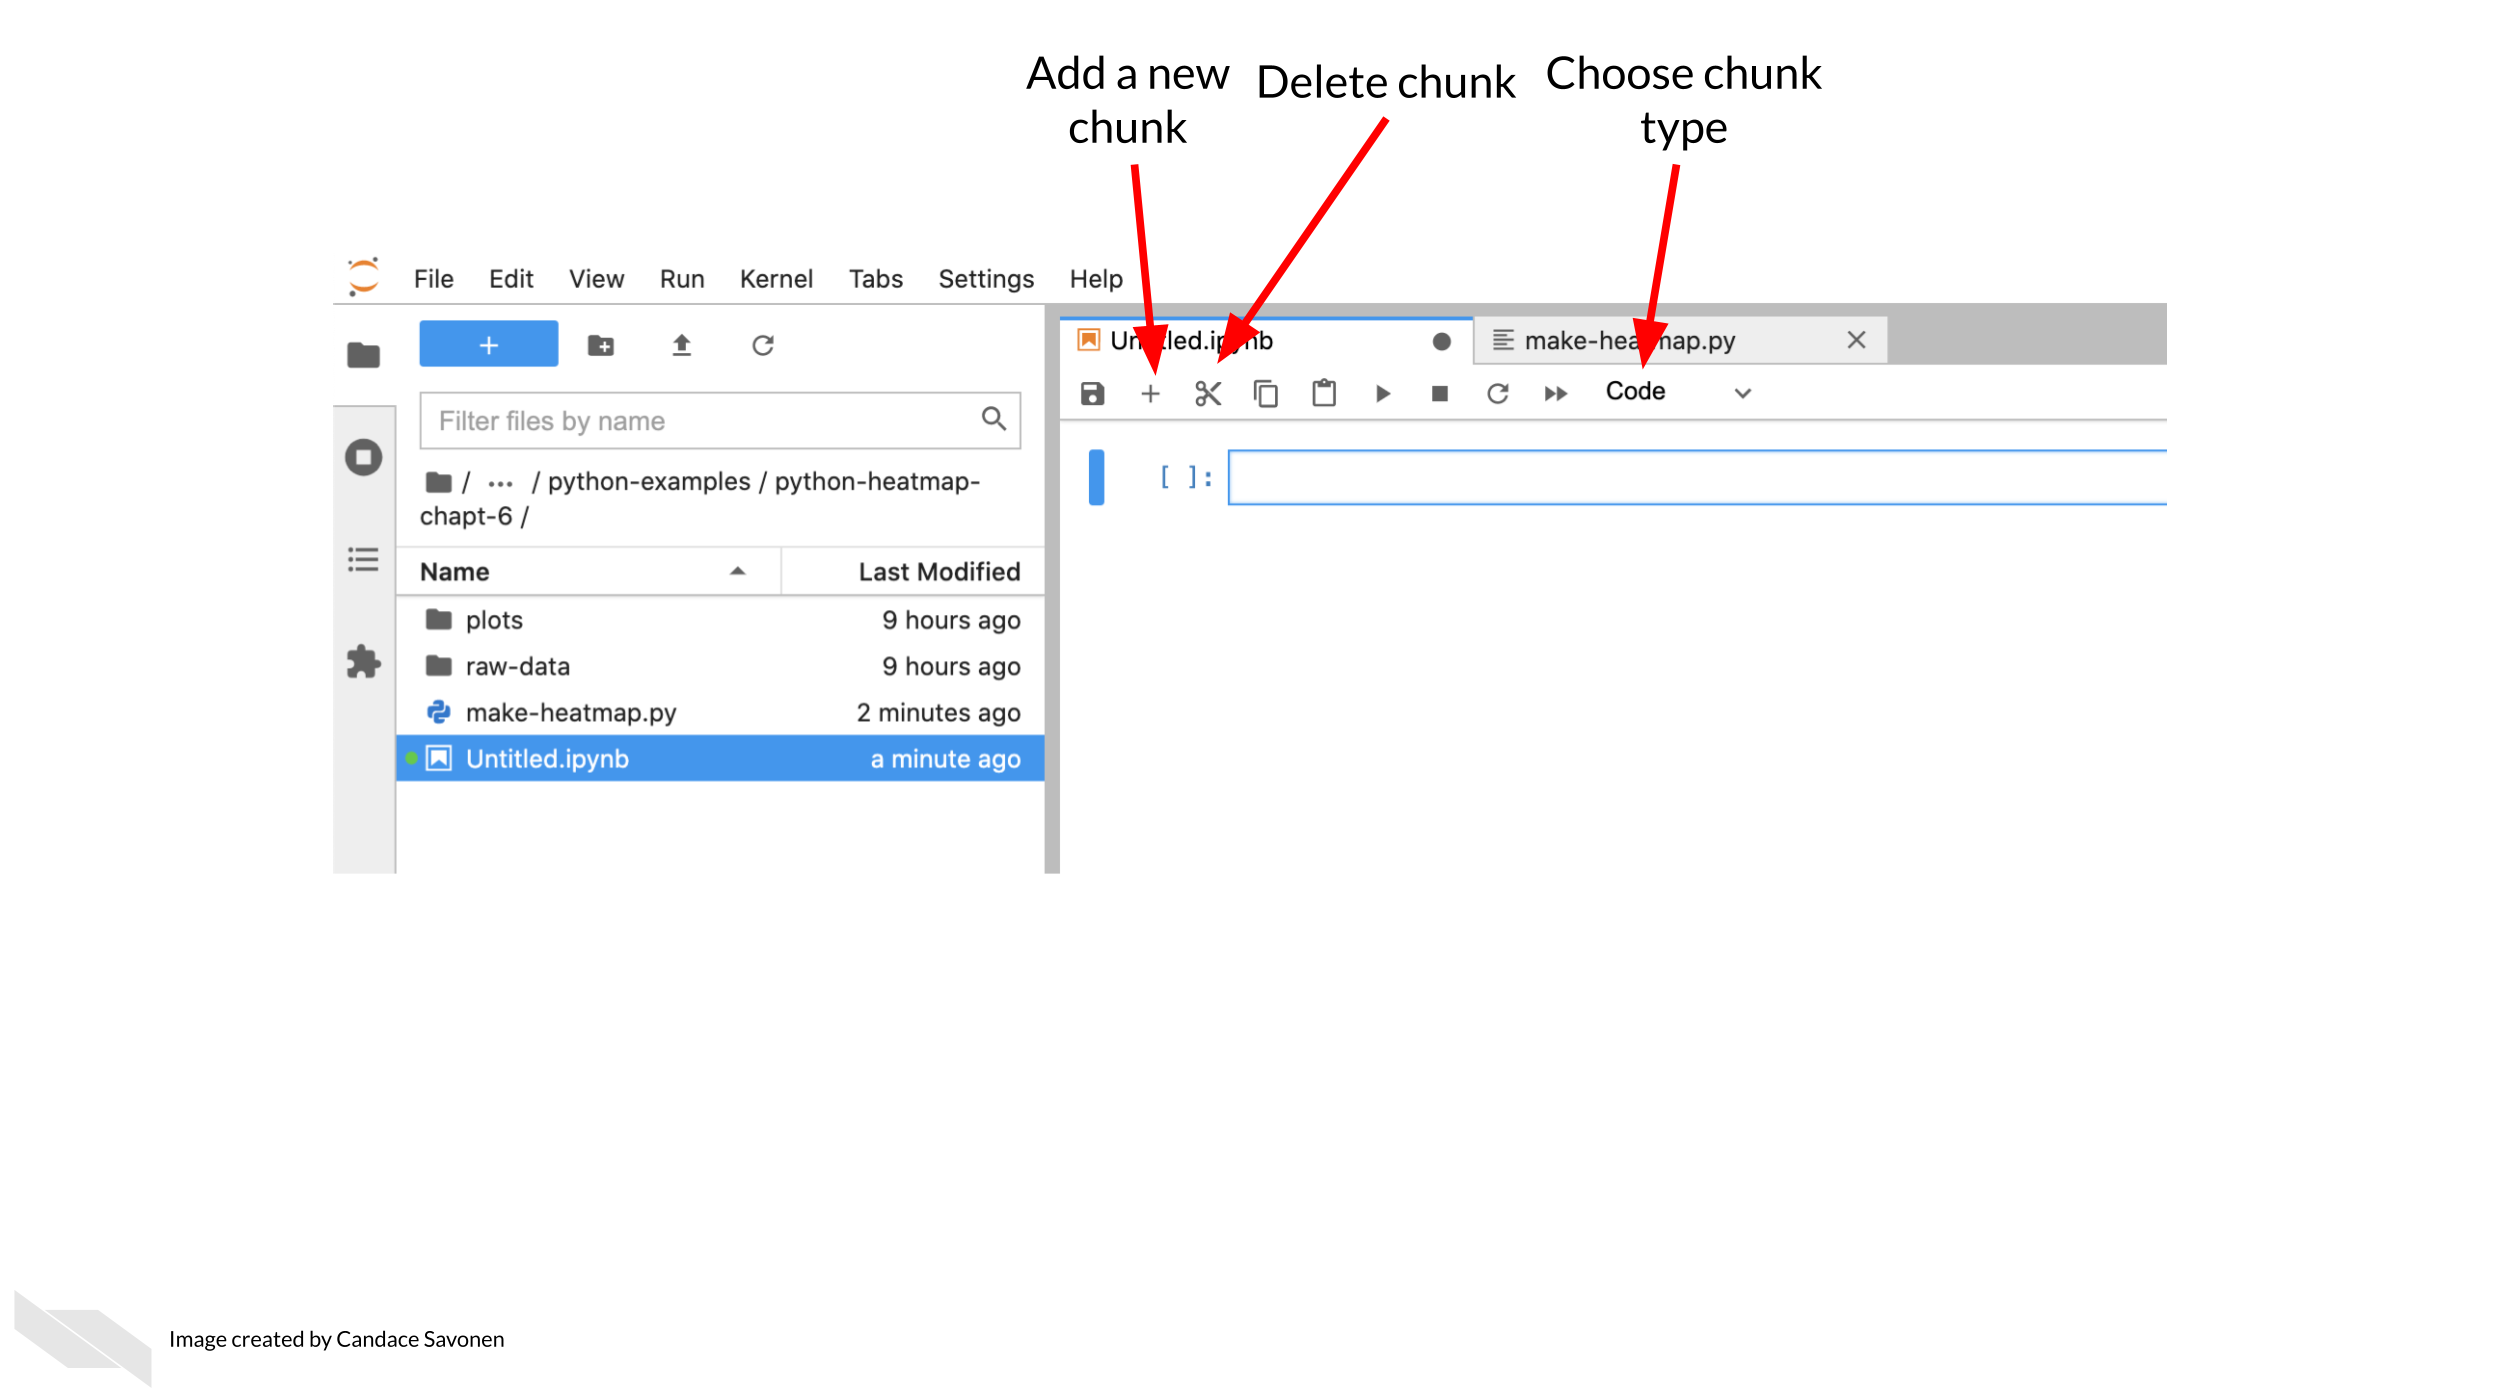 5. Continue to add more descriptions where you feel is necessary. You can reference the descriptions we have in the “final” version from the example Python repository. (Again, final here is in quotes because we may continue to make improvements to this notebook – remember what we said about iterative?)
R project exercise
- Open up RStudio.
- Open up your notebook you’ve been working on in the previous chapters:
make_heatmap.Rmd - In between code chunks, add more descriptions using Markdown language.
- You can test how this renders by saving your
.Rmdand then opening up the resultingnb.htmlfile and choosingView in Browser. - Continue to add more descriptions where you feel is necessary. You can reference the descriptions we have in the “final” version from the example R repository. (Again, final here is in quotes because we may continue to make improvements to this notebook – remember what we said about iterative?)
8.6 Exercise 2: Write a README for your project!
- Download this template README.
- Fill in the questions inside the
{ }to create a README for this project. - You can reference the “final” versions of the README, but keep in mind it will reference items that we will discuss in the “advanced” portion of this course. See the R README here and the Python README here.
- Add your README and updated notebook to your GitHub repository. Follow these instructions to add the latest version of your notebook to your GitHub repository. Later, we will practice and discuss how to more fully utilize the features of GitHub but for now, just drag and drop it as the instructions linked describe.
Any feedback you have regarding this exercise is greatly appreciated; you can fill out this form!